Related Articles

Create your Workflow
Read ...
Creating Campaigns
Read ...
Publishing a Post
Read ...
Posts Awaiting Approval
Read ...
Scheduled Content Publishing
Read ...
Publishing: Streamlined Content Distribution
Read ...
Rescheduling and Editing Posts
Read ...Efficiently manage the publication schedule and content of your posts.
Article published 1 year ago
Views 391
Introduction
This documentation provides step-by-step instructions on how to reschedule and edit a post that has already been created in the platform. Whether you need to adjust the publication time or make changes to the post's content, this guide will help you navigate the process.
Rescheduling a Post
To reschedule a post, follow these steps:
1. Navigation: Log in to your account and navigate to the "Publishing" section on the left-side navigation bar.
2. Access All Posts: Under the "Library" tab, you'll see a list of all your posts. Locate the post you want to reschedule.

3. Details Window: Click on the eye icon on top of the post to access its details window. Here, you'll find information about the post's scheduled publication.
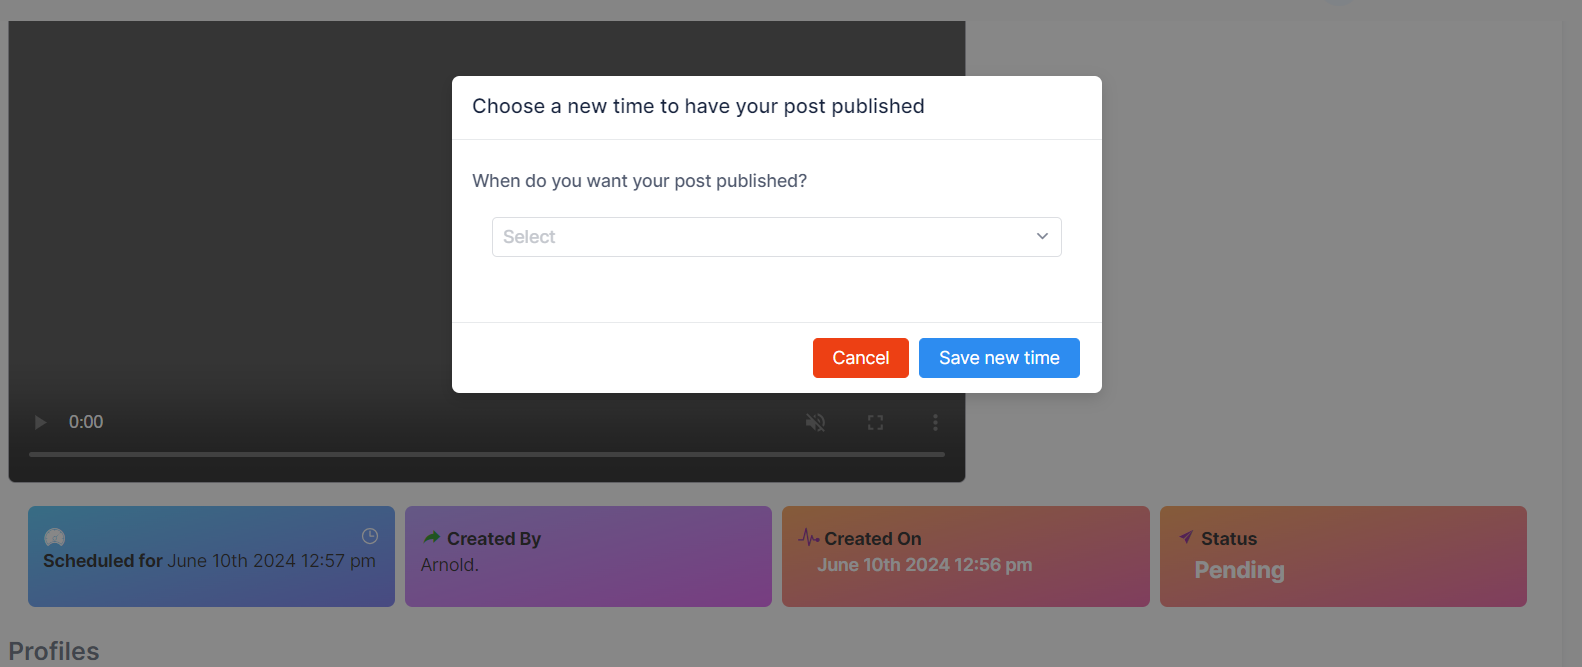
4. Rescheduling: To change the scheduled time, click on the clock icon located on the schedule card. A pop-up window will appear.
5. Adjust Time and Date: In the pop-up, you can change the time and date for when the post will be published. Modify the settings as needed.
6. Save Changes: After making the necessary adjustments, click the "Save new time" button to confirm the new schedule.
NB: Follow the same procedure for posts awaiting approval in the workflow under the 'Awaiting Approval' tab.
Editing Post Contents
To edit the contents of a post, follow these steps:
1. Access Details: Follow the same steps to access the details window of the post you want to edit.
2. Edit Content: Within the details window, double-click on the content you want to edit. This will open an editable field where you can make changes.
3. Edit Text: Make the necessary edits to the text, and you can also apply formatting changes if needed.
4. Save Changes: After editing the content, click outside the field or press Enter to save the changes.
Conclusion
Congratulations! You've successfully learned how to reschedule and edit posts that have already been created on the platform. By following these steps, you can easily manage your post publication schedule and ensure your content is accurate and up-to-date.
If you encounter any challenges while rescheduling or editing posts or need further assistance, please don't hesitate to contact our support team at support@sand-social.com.
Thank you for choosing Sands-Social.