Related Articles

Create your Workflow
Read ...
Creating Campaigns
Read ...
Publishing a Post
Read ...
Posts Awaiting Approval
Read ...
Scheduled Content Publishing
Read ...
Publishing: Streamlined Content Distribution
Read ...
Rescheduling and Editing Posts
Read ...Publish your posts; effortless content distribution.
Article published 2 years ago
Views 433
Introduction
This documentation provides detailed instructions on how to create and publish posts using the Sand-Social platform. By following these steps, you can efficiently distribute your content across different social media platforms and accounts.
Accessing the Publishing Section
To start creating and publishing posts, follow these steps:
1. Login: Log in to your account on the platform.
2. Navigation: From the left-side navigation bar, click on "Publishing."
3. Publish: Under the "Publishing" section, select the "Publish" tab.
Creating a New Post
To initiate a new post for publishing, follow these instructions:
1. New Post: On the "Publish" page, click on the "New Post" button. A pop-up window will appear.
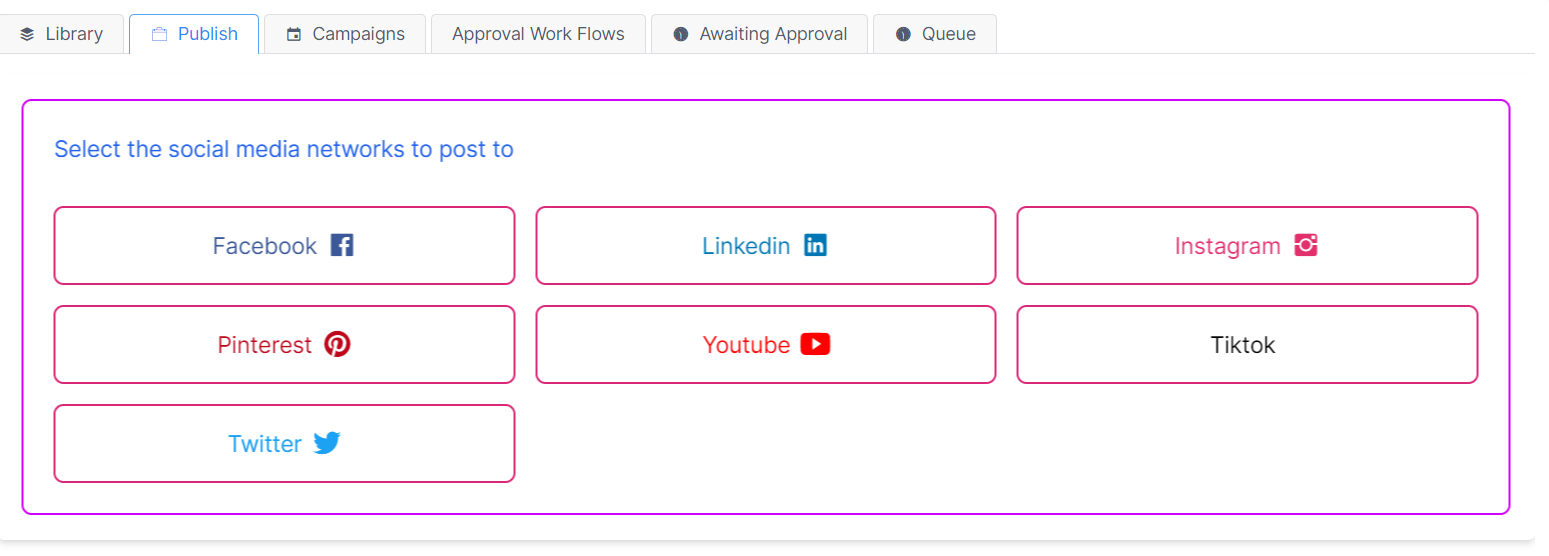
2. Platform and Account: In the pop-up, select the platform you want to post to and the specific account associated with that platform.
3. Page Selection: Choose the pages from the selected account that you'd like to post to.
4. Campaign (Optional): If your post is part of a campaign, select the relevant campaign from the options.
5. Approval Workflow: Choose the approval workflow to be used for the post.
6. Posting Time: Specify whether the post should be published immediately or scheduled for a later date and time.
Configuring Post Details
To configure the details of your post, follow these steps:
1. Next: Click the "Next" button to proceed to the content upload step. Click the appropriate buttons to upload images or videos.
2. Upload Content: Provide the text, images, videos, or other media you want to include in your post.
Publishing and Scheduling
To publish or schedule your post, follow these steps:
1. Submit: After reviewing your post and ensuring everything is as desired, click the "Submit" button.
2. Scheduling: If you've chosen to schedule your post, enter the date and time you want it to be published.
Conclusion
Congratulations! You've successfully learned how to create and publish posts on Sands-Social. By following these steps, you can effectively distribute your content to various social media platforms and engage your audience.
For any inquiries, challenges, or support related to post publishing, please feel free to reach out to our support team at support@sands-social.com.
Thank you for choosing Sands-Social to enhance your social media content management!
